Granite Manufacturing Process Step by Step — The Complete Breakdown
This isn’t just some conveyor belt situation. Each slab of granite goes through a seriously detailed journey. Here’s how the granite manufacturing process step by step unfolds:

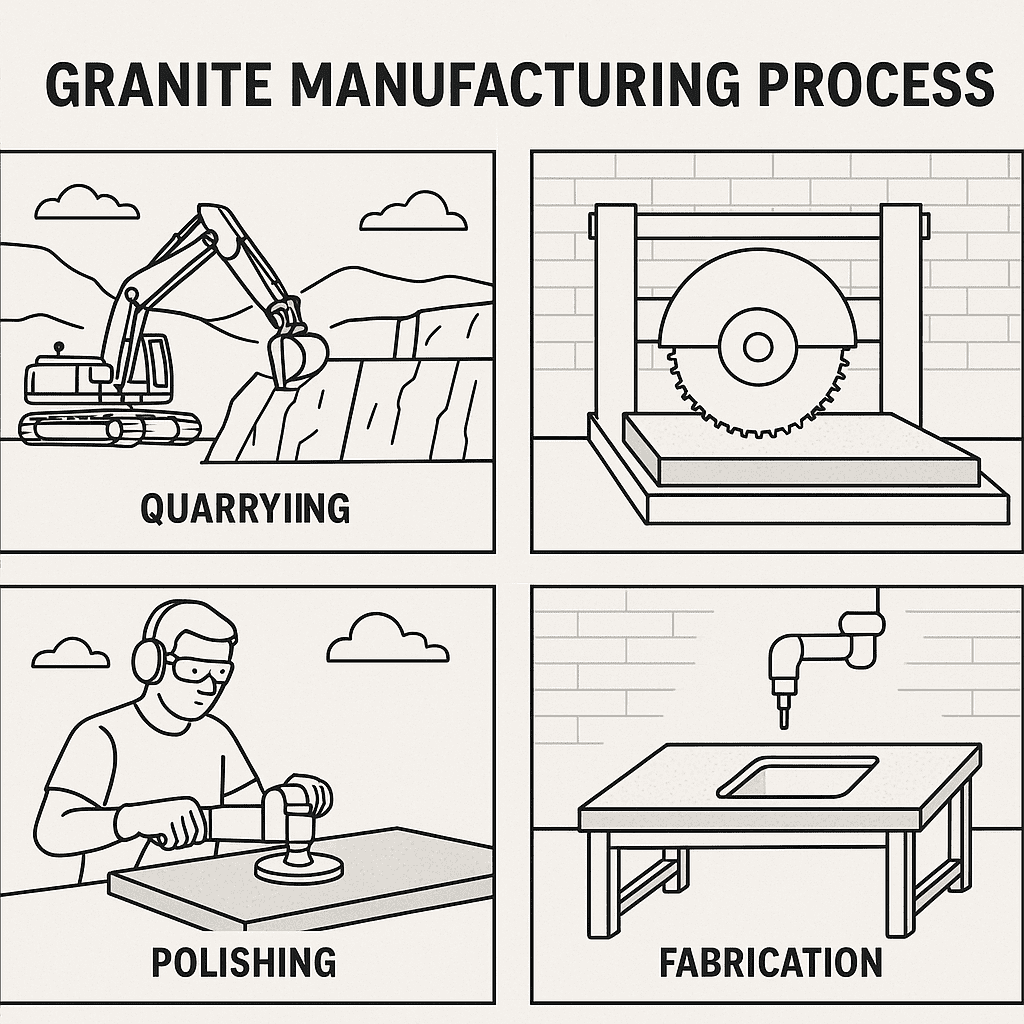
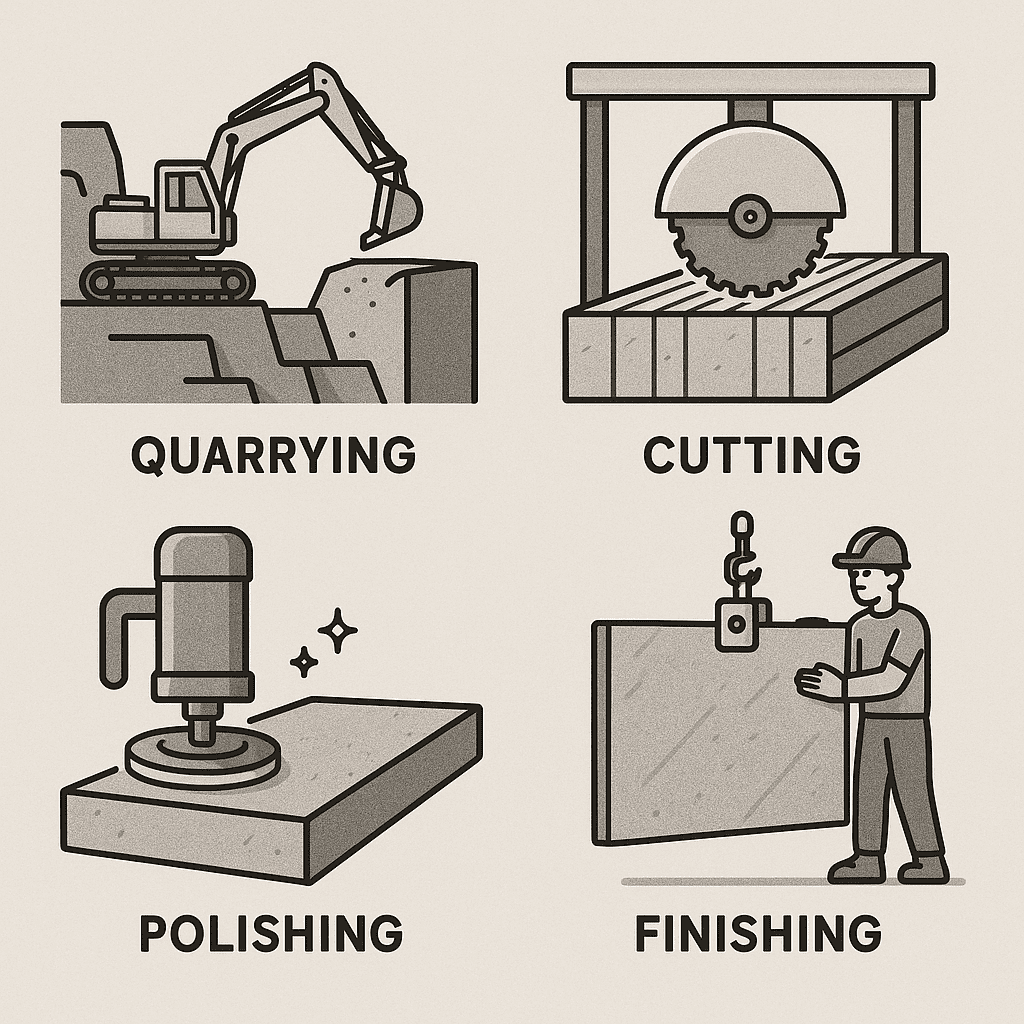
Step 1: Exploration & Quarrying

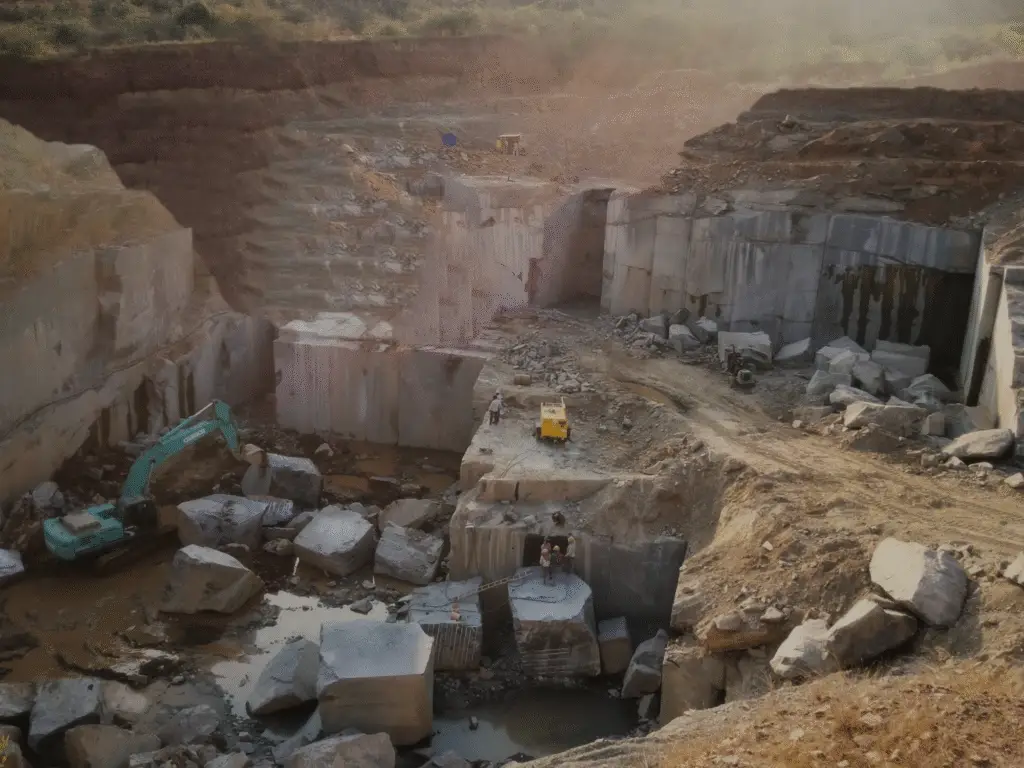
This is where the magic begins—out in the wild!
🛠️ What Happens Here?
- Geologists scout for granite deposits.
- Once a site is approved, workers drill holes and insert explosives or use diamond wire saws to cut the massive blocks.
- The goal? To extract large, damage-free blocks of granite.
Fun fact: A single block can weigh over 30 tons! No kidding.
Step 2: Block Transportation
Got blocks? Time to move them!
- These giant blocks are transported—carefully—to granite processing plants.
- Special heavy-duty trucks and cranes are used to avoid cracking or damaging the stone.
Note: Safety is key here. One wrong bump and thousands of dollars in rock could go to waste!
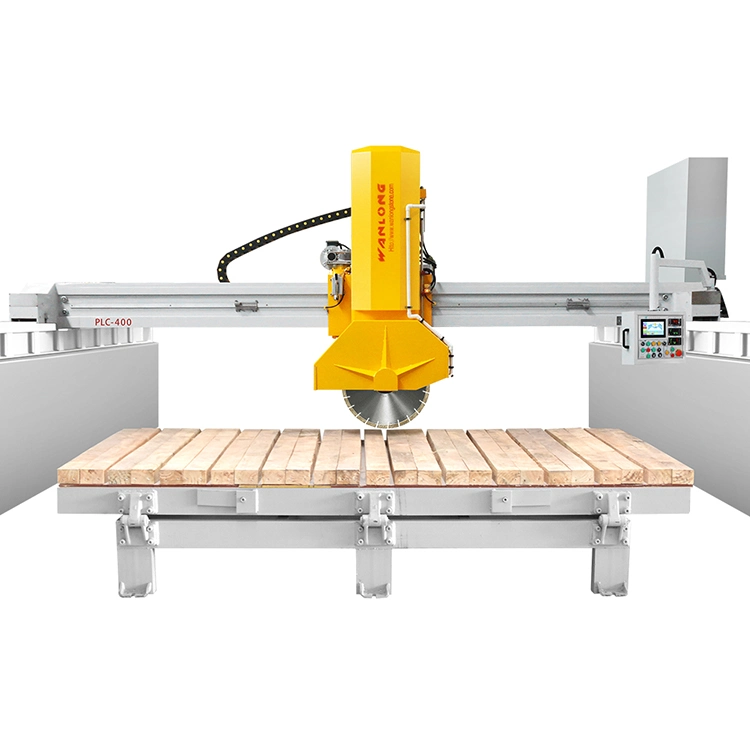
Step 3: Primary Cutting
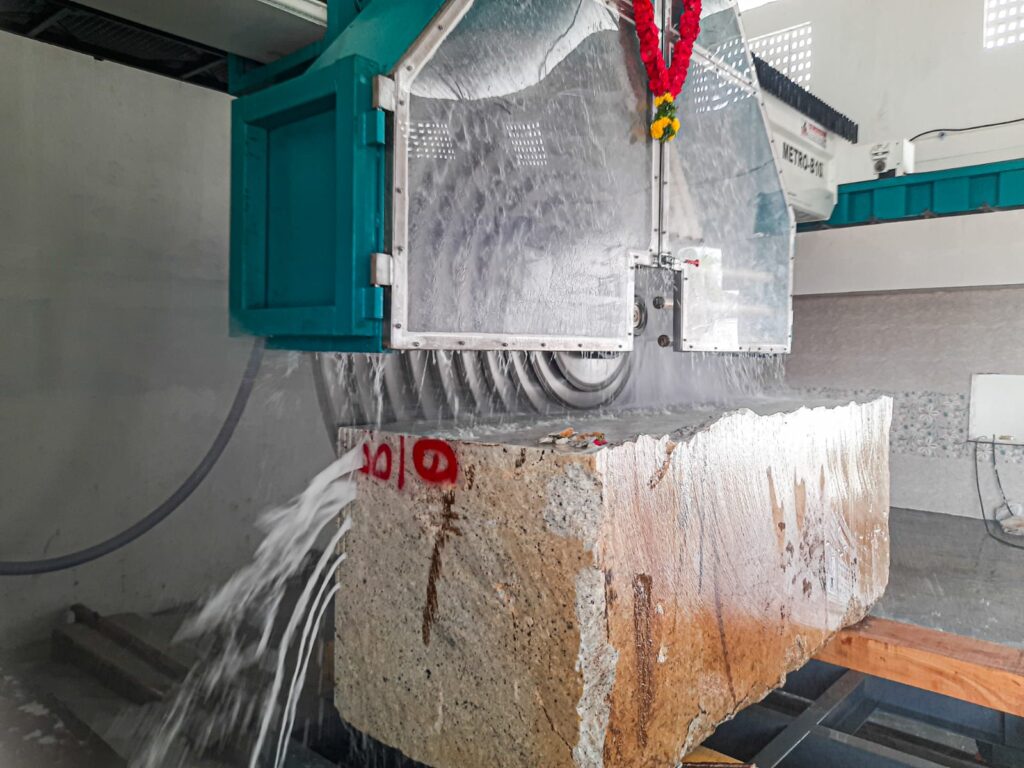
Let’s slice things up.
- At the factory, the granite blocks are cut into manageable slabs using gang saws or multi-wire saws.
- These machines use either blades or diamond wires to slice through the rock.
🌀 Quick Tech Breakdown:
- Gang Saws: Dozens of blades slicing at once.
- Multi-wire Saws: Diamond-embedded wires = precision cuts and less waste.
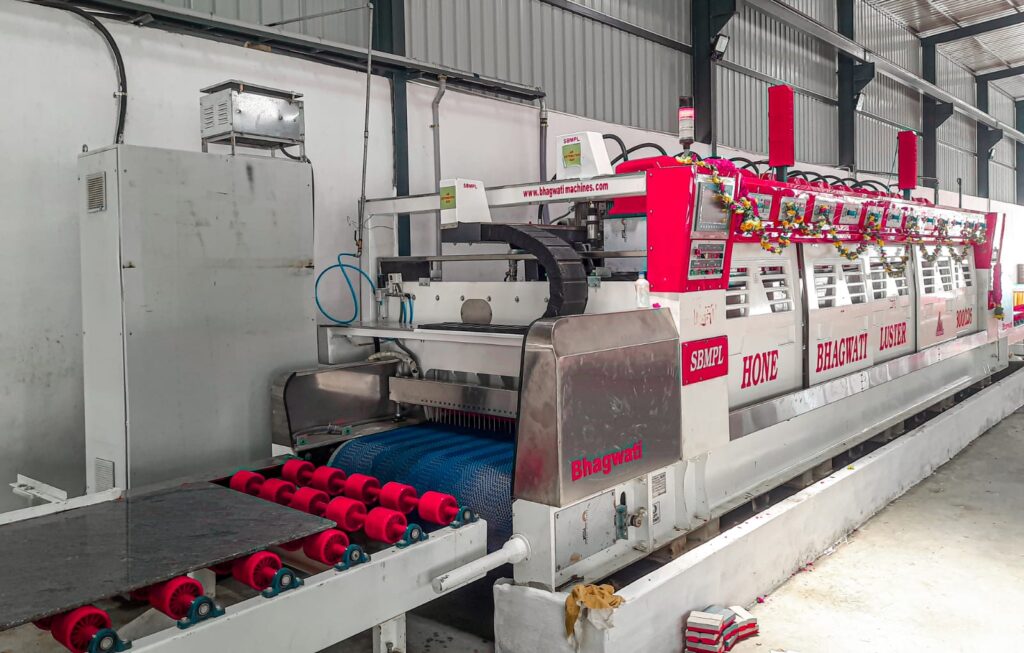
Step 4: Surface Treatment (Polishing & Honing)
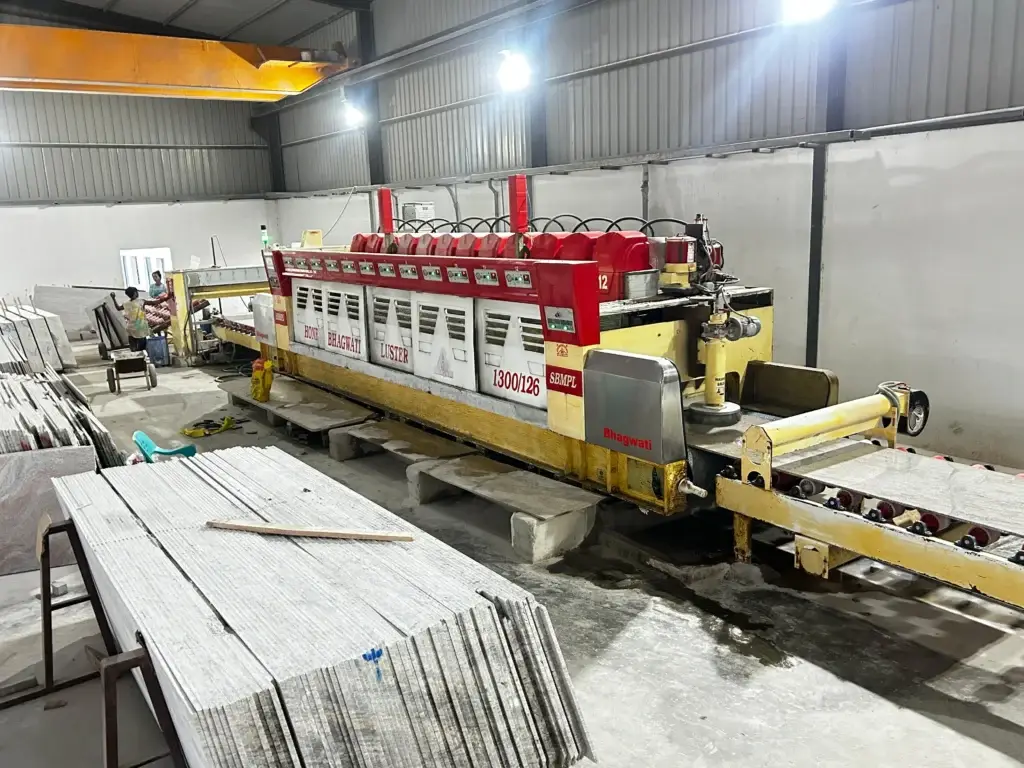
Time to shine—or not!
- Depending on the desired finish, granite can be:
- Polished (super shiny)
- Honed (smooth but matte)
- Leathered (textured and rustic)
🧽 Tools Used:
- Polishers with abrasives and water jets.
- Diamond polishing pads to bring out that gorgeous gleam.
This stage is crucial—it brings out the character of the granite slab!
Step 5: Slab Strengthening (Optional)

Not all slabs are perfect—some need a little help.
- Epoxy resin is sometimes applied to fill micro-cracks or pits.
- After application, the slab is baked or UV-treated to cure the resin.
This strengthens the stone without changing its appearance.
Step 6: Quality Inspection

Inspect it like you mean it!
- Workers inspect each slab for defects, cracks, color inconsistencies, or surface issues.
- Grading is done based on quality, color, and strength.
Granite that doesn’t make the cut? It’s either repurposed or discarded. Only the best go forward.
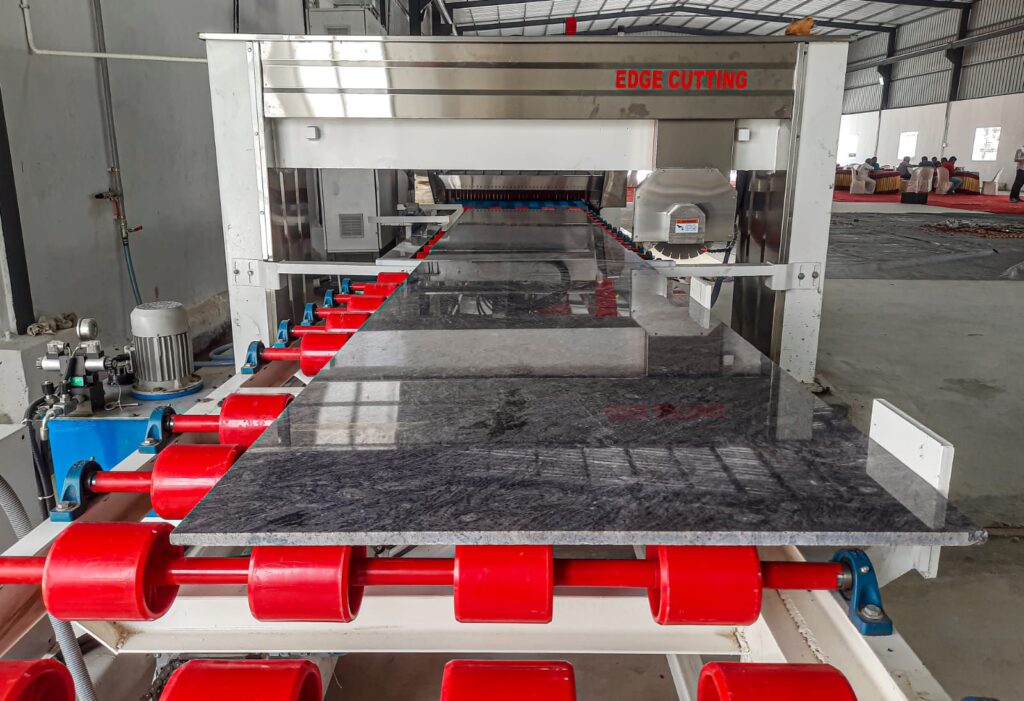
Step 7 Cutting to Size

Precision is everything.
- Using bridge saws, CNC machines, or water jet cutters, slabs are cut into countertops, tiles, or custom shapes.
- Sink holes, faucet holes, and curves are carved based on client specs.
Think of this as tailoring—but for stone!
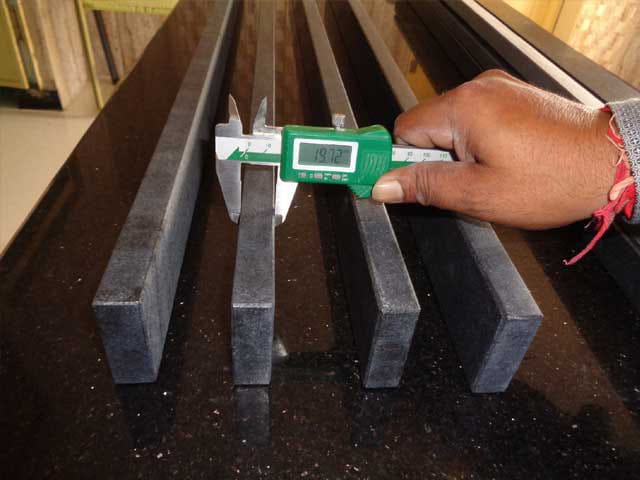
Step 8: Edge Profiling
It’s all about the details.
- Edges are shaped and smoothed with specialized routers.
- Options include:
- Straight edge
- Beveled
- Bullnose
- Ogee (the fancy one!)
The edge finish makes a big difference in final appearance.
Step 9: Final Polishing and Sealing

The cherry on top!
- After all the cutting and shaping, the slab gets one last polish.
- A stone sealer is applied to protect the surface from spills, moisture, and stains.
This step ensures the granite is not just pretty—but practical.
Step 10: Packaging and Delivery
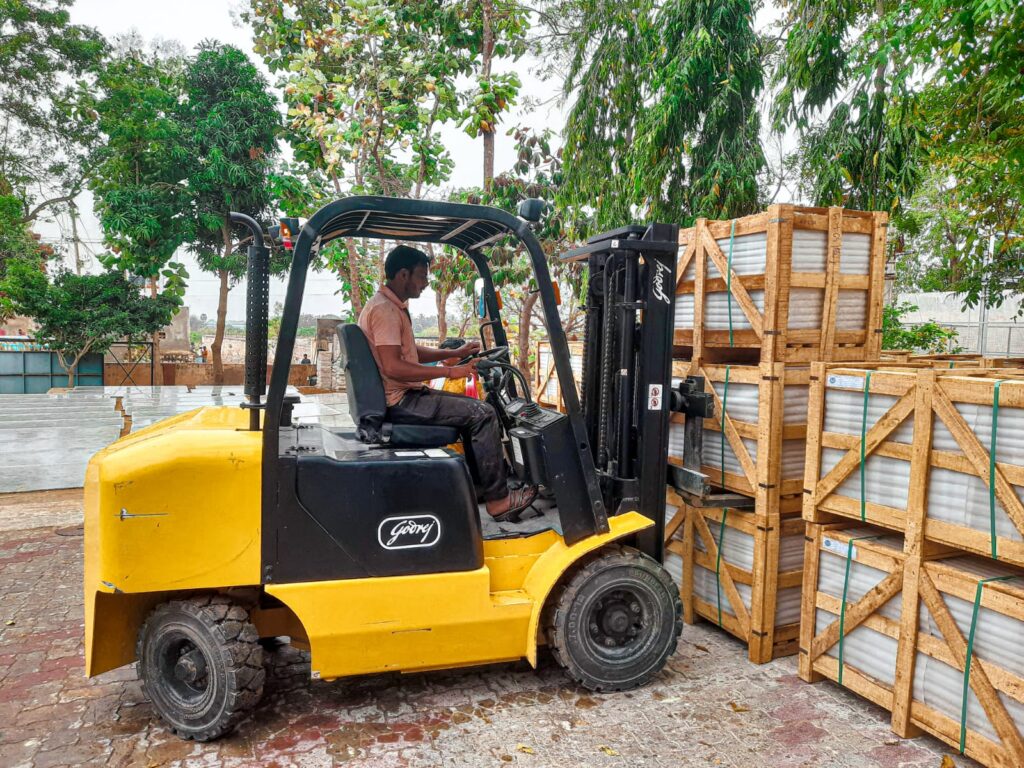
Ready to roll!
- Slabs are packed in wooden crates or steel frames.
- Carefully shipped to retailers, distributors, or directly to customers.
From here, granite heads to homes, offices, or construction sites, ready to wow!
Conclusion on Granite Manufacturing Process
And there you have it—the granite manufacturing process step by step, laid out like a roadmap from nature to your living room. What starts as a hulking chunk of Earth’s crust becomes a glossy centerpiece thanks to human craftsmanship, advanced tools, and loads of elbow grease.
So next time you’re sipping coffee at your granite kitchen island, take a moment to appreciate its wild, rocky beginnings. That slab’s been through a lot—and it came out looking fabulous.